Christmas Village Display Ideas: 14 Ways to Show Off Your Tiny Town
Christmas Village Display Ideas: 14 Ways to Show Off Your Tiny Town
Christmas village display ideas turn a box of little houses into the most-loved decoration in the house, because a village is the one display people actually stand and stare at. Guests lean in to find the church, the bakery, the tiny skaters, and the one lit window that looks like someone is home. The secret is never the number of houses you own — it is the base underneath them, the height between them, and the light that makes them glow after dark. The fourteen ideas below work for a first set of three houses and for a collection that has grown for twenty years, and most of them cost under $40.
This post contains affiliate links. If you buy through them, I may earn a small commission at no extra cost to you.
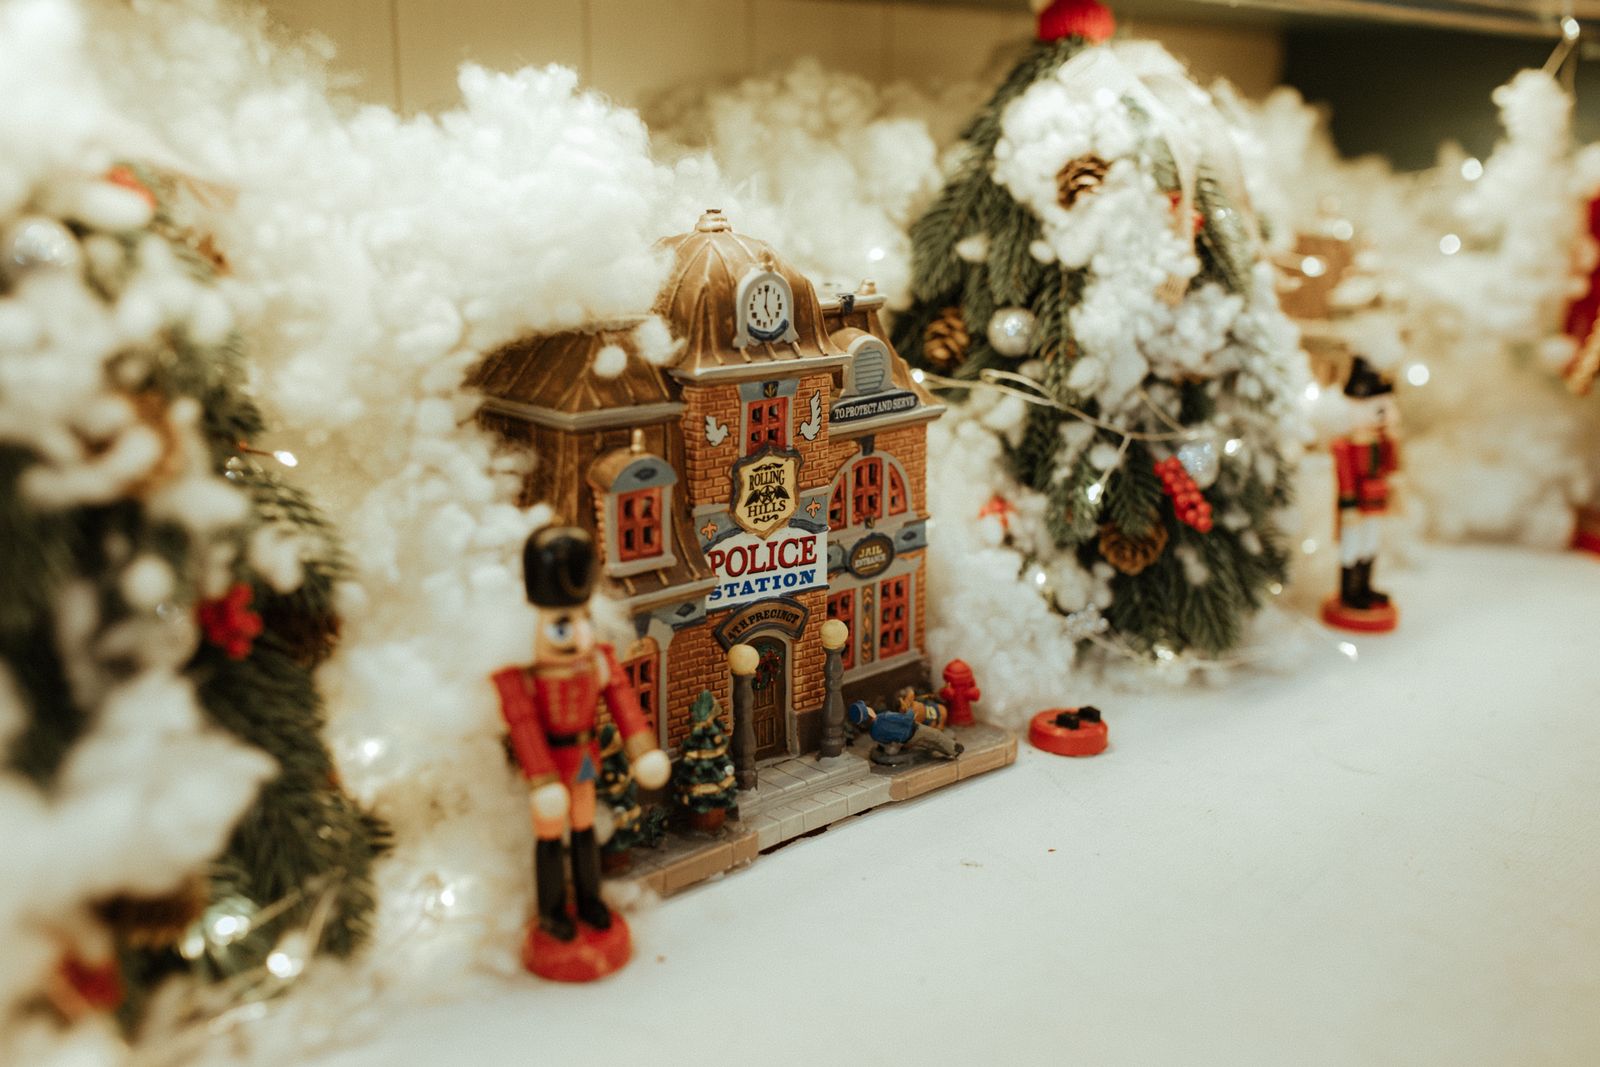
Christmas Village Display Ideas: Bases, Lights and Layout
Before a single house goes up, get the foundation right. A good base hides cords, creates hills, and makes even three houses look like a town instead of a row of ornaments.
1. A Snow Blanket Base on Any Flat Surface — Typically $10–$20
A snow blanket base, typically $10–$20, is the cheapest upgrade a village can get. Lay a white snow blanket — the fluffy batting kind sold in rolls — over a console, a sideboard, or a dining table, and let it drape slightly over the front edge so the display reads as a landscape, not a tabletop. Fluff the batting into gentle drifts rather than laying it flat, because flat snow looks like a sheet and drifted snow looks like a hillside.
2. Tiered Risers Hidden Under the Snow — Typically $15–$35
Tiered risers, typically $15–$35 for a set of wooden risers or sturdy boxes, are what separate a magical village from a flat row of houses. Stack books, upside-down boxes, or wooden display risers under the snow blanket to create two or three height levels, with the tallest buildings at the back and the smallest cottages at the front. Every house should be visible from the front without another roof blocking it, which means the back row needs to sit at least 4 to 6 inches higher than the front row. Cover every riser completely with snow fabric so no cardboard or book spine shows, and test the levels from a chair across the room before you place the houses.
3. Warm-White Fairy Lights on a Timer — Typically $8–$18
Warm-white fairy lights, typically $8–$18 for a battery string, are the single most important part of a village display, because a village only comes alive when it glows. Weave a string of warm-white micro lights through the snow at the base of the houses, never cool-white, which makes a cozy village look like a hospital corridor. Put the lights on a timer plug or a battery box with a built-in timer set for dusk to bedtime, so the village lights itself every evening and you never have to crawl behind the furniture.
4. A Mirror Panel as a Frozen Pond — Typically $10–$25
A mirror panel as a frozen pond, typically $10–$25 for a small round or rectangular mirror, adds instant magic to a flat display. Lay the mirror flat on the snow near the front of the village, tuck bottle-brush trees and a couple of tiny figures around its edges, and the reflection reads as ice on a winter pond. Keep the mirror small — no more than a third of the display's width — and wipe it clean before setup, because dust on a mirror reads as dirty ice.
5. A Main Street Layout, Tall at the Back — Typically $0–$10
A main street layout, typically $0–$10 for a strip of grey felt or a winding path of snow, costs almost nothing and fixes the most common village mistake: lining every house up in a straight row. Angle the main street diagonally across the display, from the front left to the back right, and cluster the shops and the church near the middle, with houses trailing off behind them like a real town. Place taller buildings at the back, smaller cottages at the front, and leave a gap of an inch or two between buildings so each house has breathing room. A winding path of bare snow or grey felt between the houses guides the eye through the whole scene and makes a small collection look much larger.
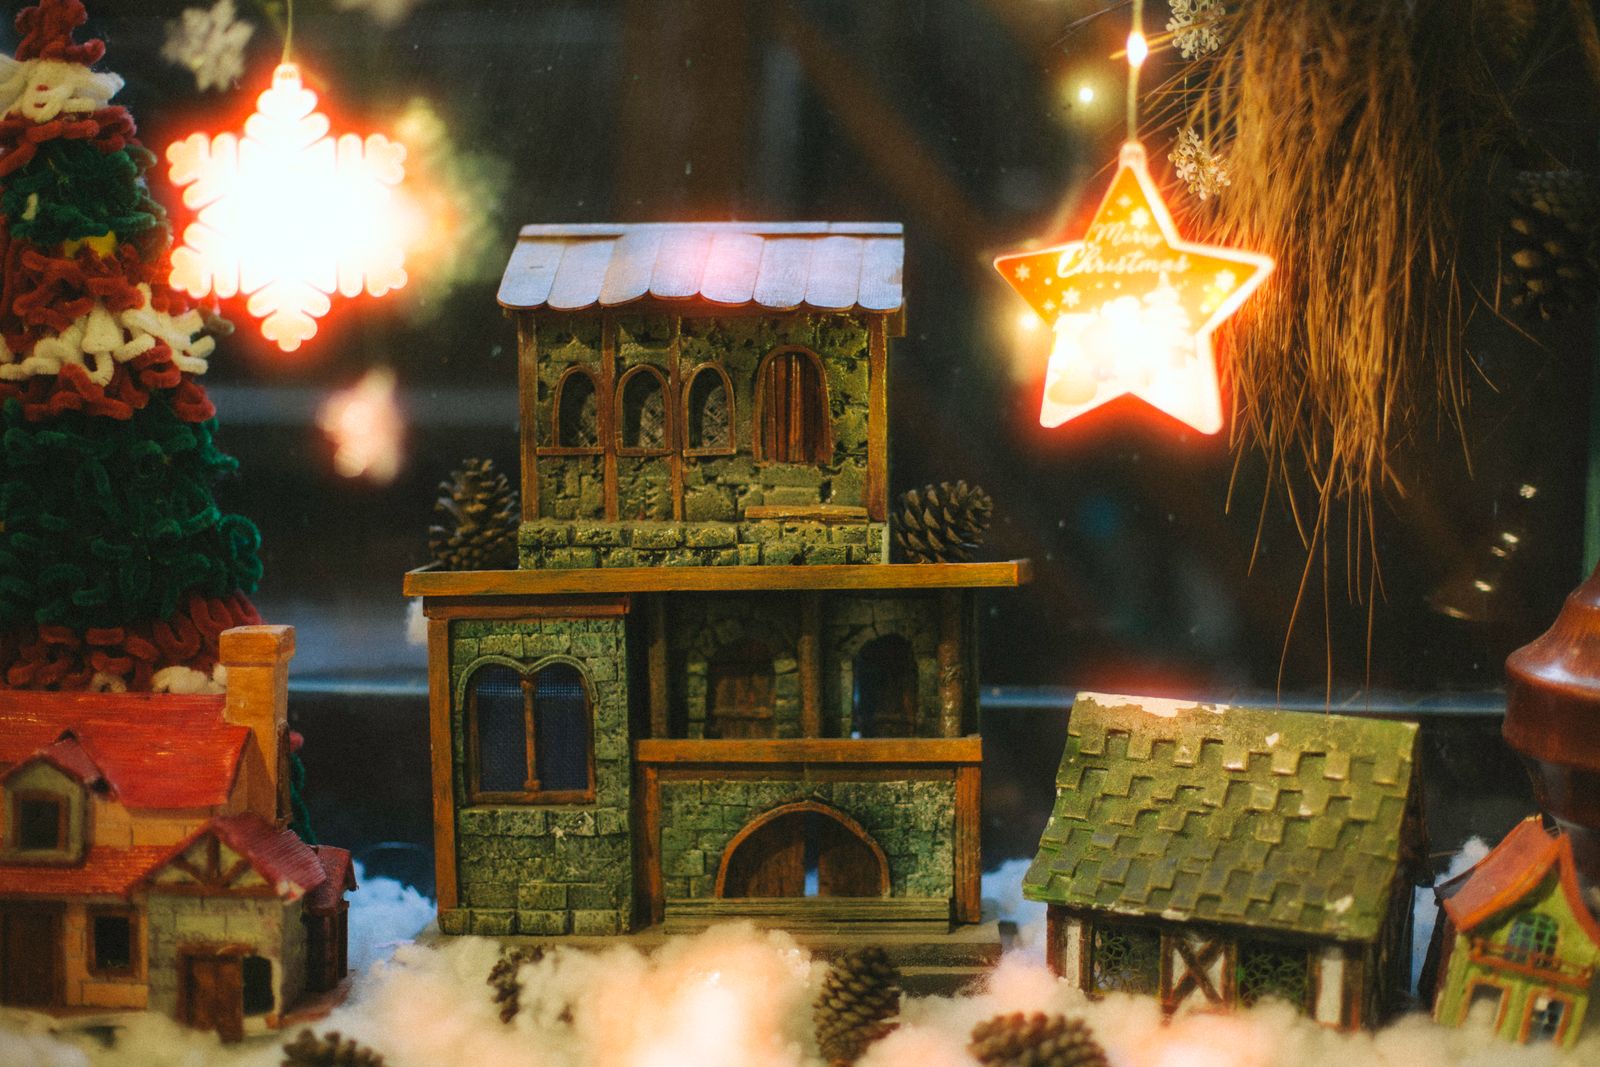
Christmas Village Display Ideas: Mantels, Shelves and Tabletop Towns
With the base and lights sorted, choose the stage. Mantels, shelves, and tables each suit a different size of village, and the best displays use the furniture that is already in the room.
6. A Mantel Village With the Fireplace as Backdrop — Typically $20–$40
A mantel village, typically $20–$40 for extra snow, lights, and trees, is the classic Christmas village display, because the fireplace behind it adds warmth and height for free. Run a snow blanket the full length of the mantel, place the tallest building — usually the church or town hall — near the center, and step the smaller houses down toward each end so the display reads as a skyline. Keep houses at least 12 inches from an open flame or a hot firebox, and never place a village above a fireplace you actually burn wood in, since heat and soot damage painted houses fast. Battery lights are the safe choice here.
7. Bookshelf Neighborhoods, One Shelf at a Time — Typically $15–$30
Bookshelf neighborhoods, typically $15–$30 for a snow runner and a light string per shelf, turn an ordinary bookcase into a whole town. Give each shelf its own neighborhood — shops on one shelf, houses on the next, the church on the top — and let books and ornaments frame the houses instead of clearing the shelf completely. A single shelf village needs only three or four houses to look full, which makes bookshelves the best home for a growing collection: add one shelf a year as the village grows.
8. A Dining Table Centerpiece Village Guests Can See Over — Typically $25–$45
A dining table centerpiece village, typically $25–$45 for a low runner, snow, and a short light string, is the boldest display in the house — and the one with the strictest rule. Keep every building under 10 inches tall and leave the center of the table low, so guests can see each other across the village instead of talking around a church steeple. A narrow snow runner down the middle of the table, with houses clustered at each end and a low stretch of trees and lights between them, gives everyone a view without blocking conversation. Use battery lights only on a dining table, and lift the whole runner off before serving, so gravy and villages never meet.
9. A Windowsill Village That Glows at Dusk — Typically $10–$25
A windowsill village, typically $10–$25 for snow and a battery light string, is the display the whole street enjoys. Line a deep windowsill with a snow runner, place the houses facing into the room, and let their lit windows shine out through the glass at dusk, when the room behind them is dark and the village becomes a silhouette of warm light. Windowsills suit small collections best — three to five houses fill a standard sill — and they need no extra furniture at all. Check that the sill is level, since a sloping sill sends tiny houses sliding toward the glass.
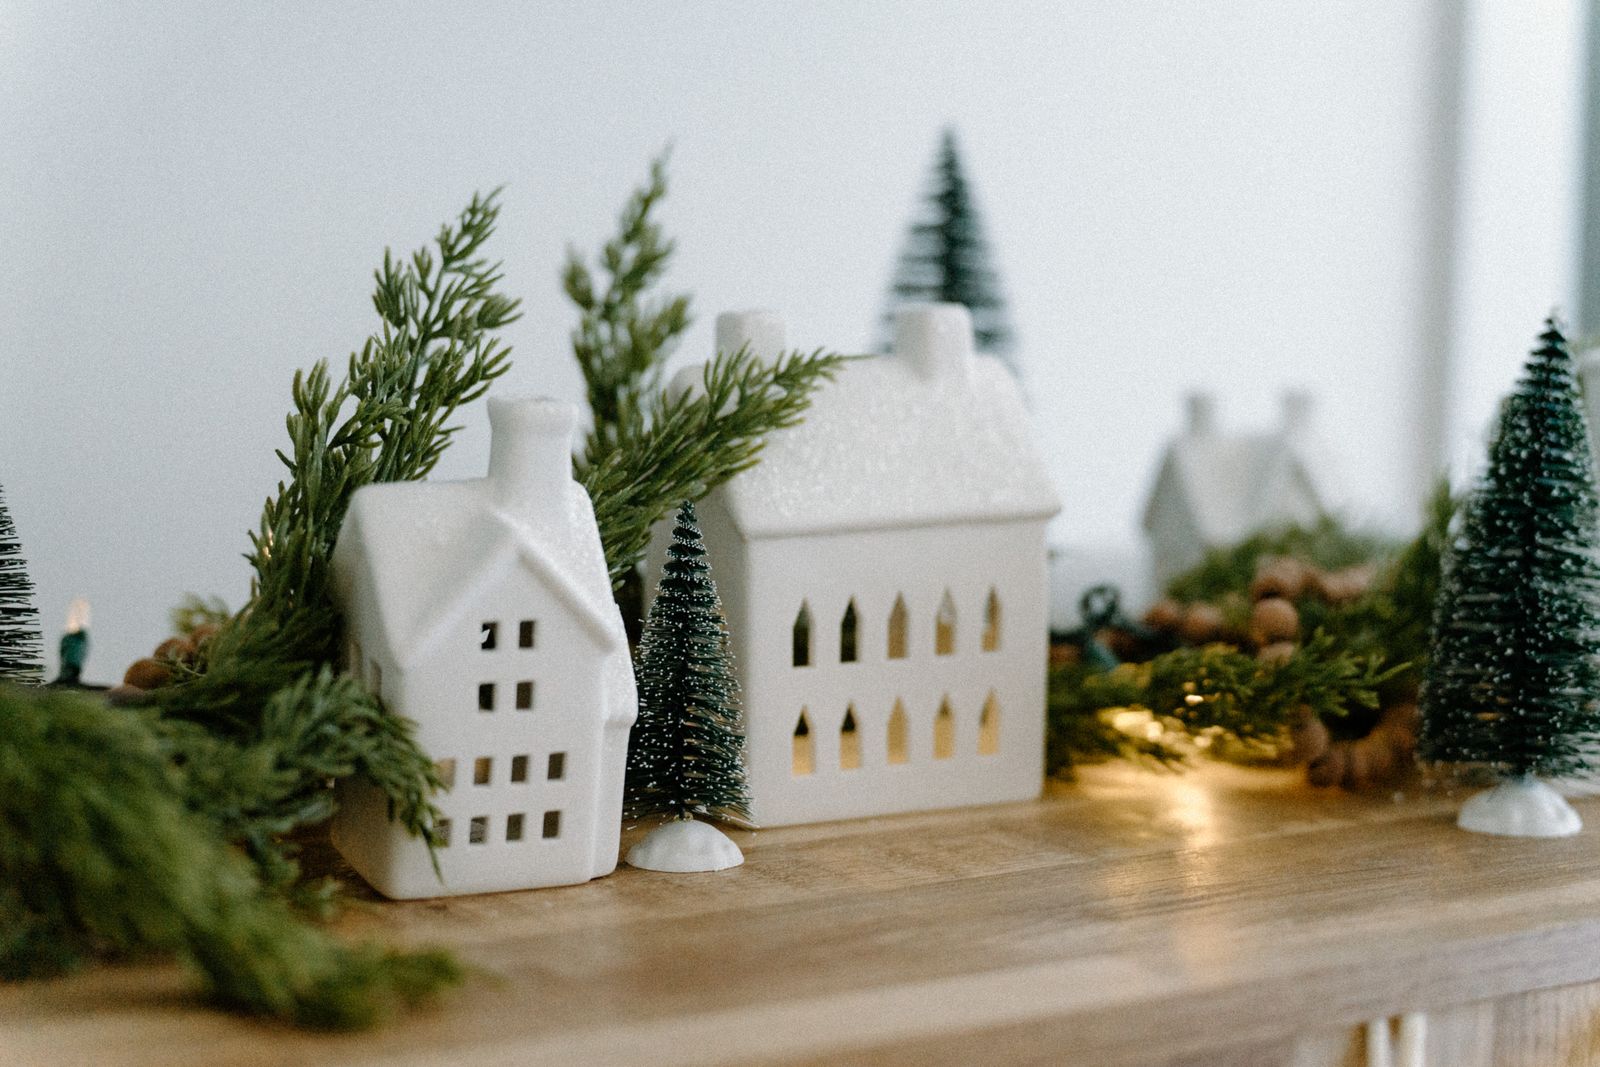
10. A White Ceramic Village on a Wooden Surface — Typically $30–$60 for a Starter Set
A white ceramic village, typically $30–$60 for a starter set of three to five houses, is the modern, minimal take on the tradition, and it suits homes where a colorful village would clash. White houses with cut-out windows glow beautifully from within with a single tea light or a short fairy light string, and they look just as good on a plain wooden mantel with a few bottle-brush trees as a colorful village looks on snow. Pair white houses with natural greenery — cedar sprigs, pinecones, a simple garland — rather than more color, and let the warm light do the decorating.
Christmas Village Display Ideas: Small Spaces, Kids, Pets and Pack-Away
The last group is for everyone who loves villages but lacks a mantel, a spare table, or a house without toddlers. Small displays, protected displays, and smart storage keep the tradition alive in any home.
11. A Tray or Dough-Bowl Mini Village — Typically $20–$40
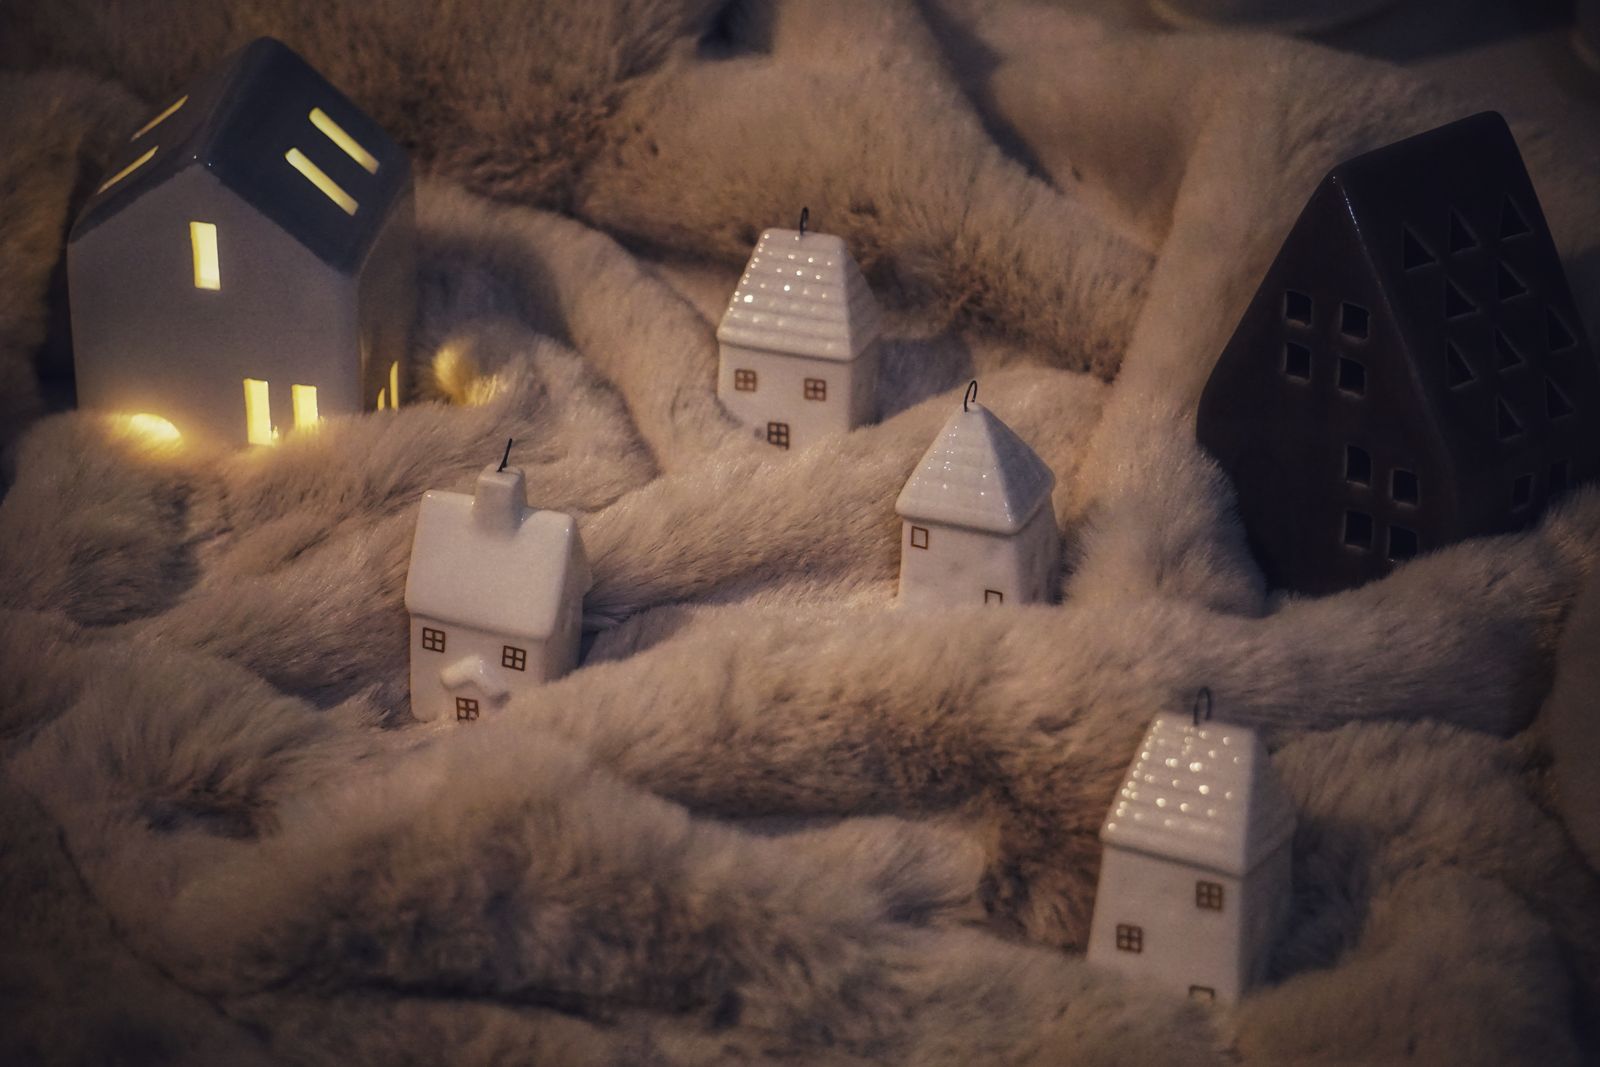
A tray or dough-bowl mini village, typically $20–$40 for a tray, a few houses, and a light string, is the whole tradition in miniature. Line a large wooden tray, a dough bowl, or a shallow basket with a soft white base — faux snow, a folded white throw, or even soft fleece — set three small ceramic houses into it at different heights, and weave a short fairy light string between them. The tray keeps the village contained, portable, and safe from table bumps, and it moves from the coffee table to the dining table to a bedroom dresser in one lift. This is also the best first village for a child or a grandchild, because a tray village is theirs to arrange, rearrange, and carry to show visitors.
12. A Single-House Nightstand Vignette — Typically $15–$30
A single-house nightstand vignette, typically $15–$30 for one lit house, a tiny tree, and a short light string, proves that one house is enough. Place a single glowing cottage on a nightstand, a bathroom shelf, or a reading chair side table, with one bottle-brush tree and a sprinkle of faux snow, and it becomes the quiet corner of Christmas that only you notice. Single-house displays are perfect for apartments, for the first year of collecting, and for rooms where a full village would overwhelm the space. Choose a house with a warm lit window, since a single lit house draws the eye from across the room.
13. A Kid- and Pet-Proof Village, High and Battery-Lit — Typically $10–$25
A kid- and pet-proof village, typically $10–$25 for a high shelf setup and battery lights, keeps the tradition safe for the whole family. Place the village on a high, stable shelf or a wall-mounted ledge that little hands and wagging tails cannot reach, use battery lights so there are no cords to pull, and glue or museum-putty the houses to their base so a bump moves the whole display instead of toppling one house. Keep tiny figures, trees, and accessories out of reach of children under three, since small village pieces are choking hazards, and choose sturdy resin or ceramic houses over delicate porcelain for the lowest shelves.
14. Labelled Pack-Away and One New Building a Year — Typically $5–$15
Labelled pack-away, typically $5–$15 for tissue paper, small boxes, and labels, is the idea that protects every other idea on this list. Wrap each house in tissue, pack houses upright in their own small boxes, label each box with the building's name, and store the village in one bin with the lights, snow, and trees on top, so next December's setup takes minutes instead of an afternoon. Add exactly one new building each year — a bakery, a schoolhouse, a skating rink — and the village becomes a family tradition with a story, instead of a storage problem bought all at once.
What You'll Need
- Christmas village houses set
- Battery fairy lights warm white
- Bottle brush christmas trees
The Bottom Line
Christmas village display ideas all come down to three choices: a soft, drifted base, two or three heights instead of one flat row, and warm light on a timer so the town glows every evening on its own. Start with the houses you already own, add a snow blanket and one light string, and let the village grow one building a year rather than buying a whole town at once. Whether it lives on a mantel, a bookshelf, a dining table, or a single tray, a village displayed with height, light, and a little breathing room between the houses will be the decoration guests remember.
Related Reading
- Christmas Wall Decor Ideas: 15 Looks Beyond the Tree


Comments
Post a Comment